
Top 5 Video Editing Techniques Every Beginner Should Master
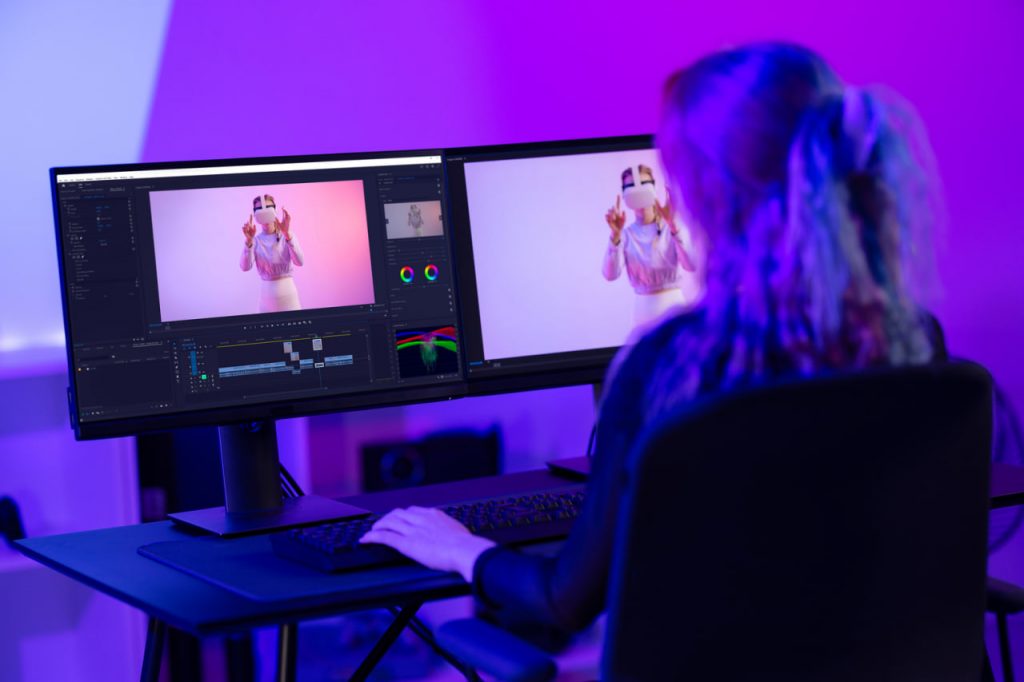
Learning to edit video is one of the most valuable creative skills in today’s content-driven world. Whether you’re aiming to work in film, create content for social media, or offer freelance services, mastering the fundamentals is essential. These five techniques form the backbone of almost every professional video project, and getting comfortable with them early will fast-track your growth as an editor.
1. Cutting and Trimming
The most basic — and arguably most important — editing skill is knowing how to cut and trim footage efficiently. This is where storytelling begins. Learning to remove unnecessary parts, adjust pacing, and maintain continuity is critical for holding your viewer’s attention. A good cut can create drama, reveal emotion, or enhance comedy. Beginners should practice understanding where a scene begins and ends naturally, and how to connect clips so transitions feel smooth and purposeful.
Start by working with raw footage and asking yourself what parts are essential to the message. Tightening your edits helps keep the story moving and the audience engaged. As you gain experience, you’ll learn to spot awkward pauses, unnatural jumps, or sections that break the flow — and cut them with confidence.
2. Using Transitions Effectively
Transitions are tools that help you move from one clip or scene to another. Beginners often overuse flashy transitions like wipes and spins, thinking they make a video look more “professional.” In reality, the most effective transition is often the simplest: a straight cut or a gentle fade.
Understanding when and why to use a transition is key. A crossfade can suggest the passage of time. A whip pan can increase energy and create a stylized effect. A match cut can create visual or thematic connections between scenes. Mastering transitions means using them to support the story, not distract from it.
Less is more. Focus on subtlety and narrative purpose rather than visual noise. Save complex transitions for when they truly enhance the emotion or tone of your project.
3. Audio Editing and Syncing
Audio is just as important as visuals — if not more. Viewers will forgive slightly shaky footage, but they’ll quickly abandon a video with poor sound quality. Beginners must learn how to edit audio tracks, clean up background noise, and sync dialogue or sound effects to visuals.
Start by learning to separate audio from video in your timeline. This gives you full control over adjusting levels, removing unwanted sounds, and layering music or voiceovers. Practice syncing audio with visuals, especially when working with interview footage, dialogue scenes, or music videos.
Sound design can elevate a project dramatically. Simple actions like adding ambient noise, balancing volume levels, or enhancing a moment with a subtle effect can make your edits feel polished and professional.
4. Color Correction and Color Grading
Color is a powerful storytelling tool. While professional color grading takes time to master, learning the basics of color correction is essential from the start. This means adjusting exposure, contrast, white balance, and saturation so your footage looks consistent and natural across different shots.
Once your clips are balanced, you can begin exploring color grading to create mood. Warm tones can feel nostalgic or romantic. Cooler tones can suggest tension or distance. Color choices should support the tone and emotion of your content, not overwhelm it.
Start small. Use scopes to monitor your adjustments and aim for visual consistency. Many editing programs offer built-in LUTs (Look-Up Tables) that apply a preset color grade — these can be a great way to experiment while learning.
5. Working with Text and Graphics
Adding titles, captions, and motion graphics can help convey information, emphasize points, and enhance engagement. However, poor typography or overly flashy graphics can hurt your project more than help it. Learn the principles of clean design: readability, alignment, contrast, and timing.
Keep fonts simple and professional. Use lower thirds to introduce speakers or locations. Align text consistently and choose colors that stand out without clashing with the background. Animating text should feel smooth and purposeful — not distracting.
Many editing programs include templates for motion graphics and titles, which are great starting points. As you progress, you’ll be able to create your own branded looks or integrate assets made in software like After Effects.